First of all, make sure you have both Elementor and Elementor Pro installed and activated.
Then Drag and drop your Posts or Portfolio widget inside a page where you would like to start using the query.
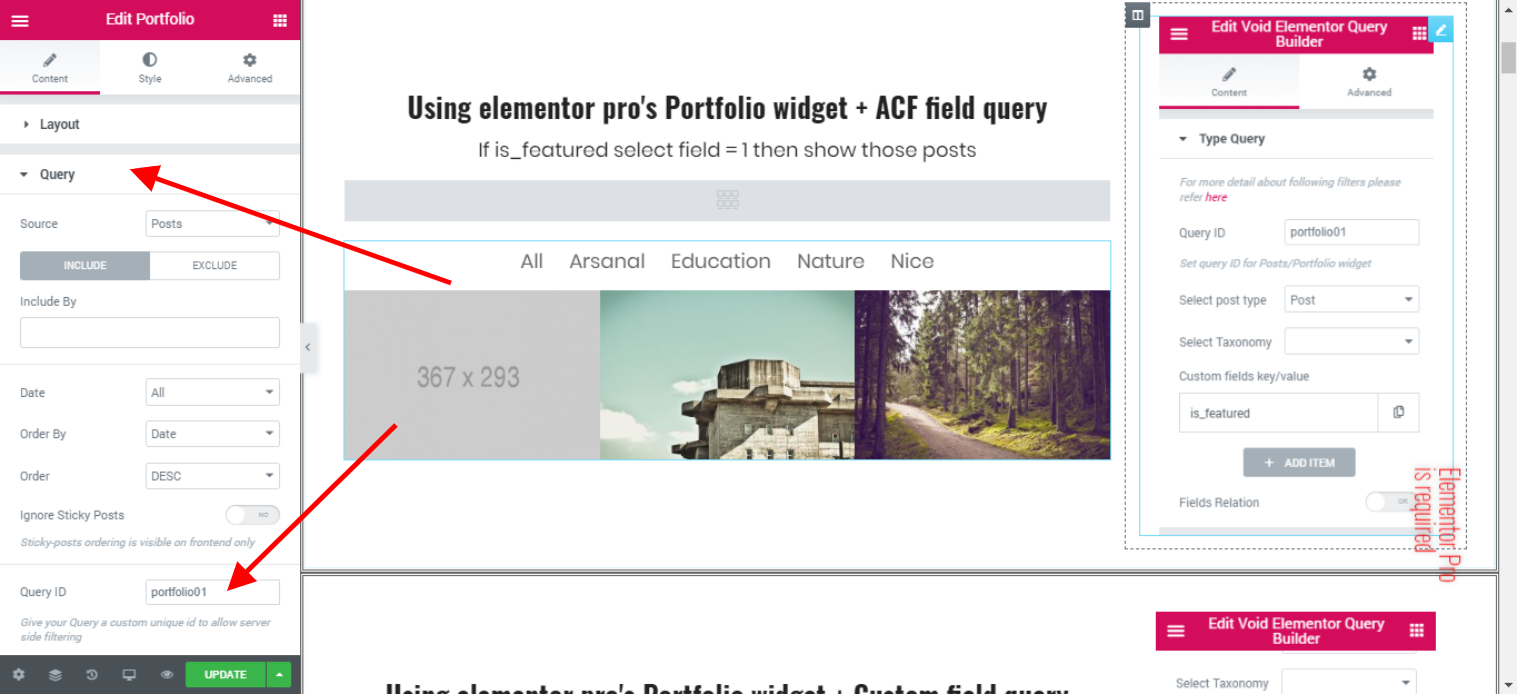
Set a Query Id in the Query Section of the Posts or Portfolio widget.
**Remember while using this widget with out widget, none of the settings that you set in this widget will work such as posts per page, include, exclude etc. **
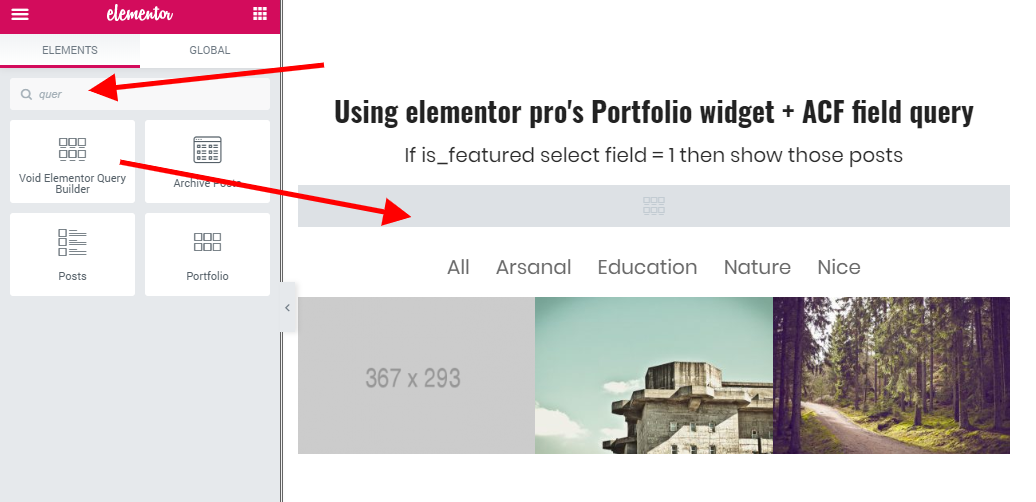
After that Drag and drop the Void Elementor Query Builder widget anywhere on the page. Better to drag and drop in in the same section/ column where you just placed the posts / portfolio widget.
Then insert the same Query Id that you had used in the Posts / portfolio widget above
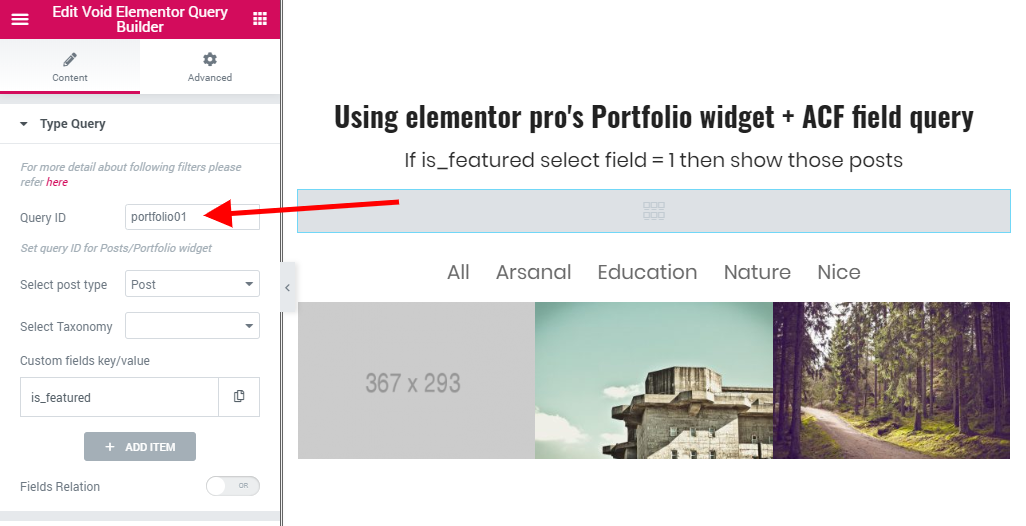
Alright! You are now done mapping the Elementor Query Builder with your posts/portfolio widget 😉 . Now rest of the field available are self explanatory. But our sample video guide below can speed things up for you! Check it below.
Click here to know more about Operator which can be used in custom meta query
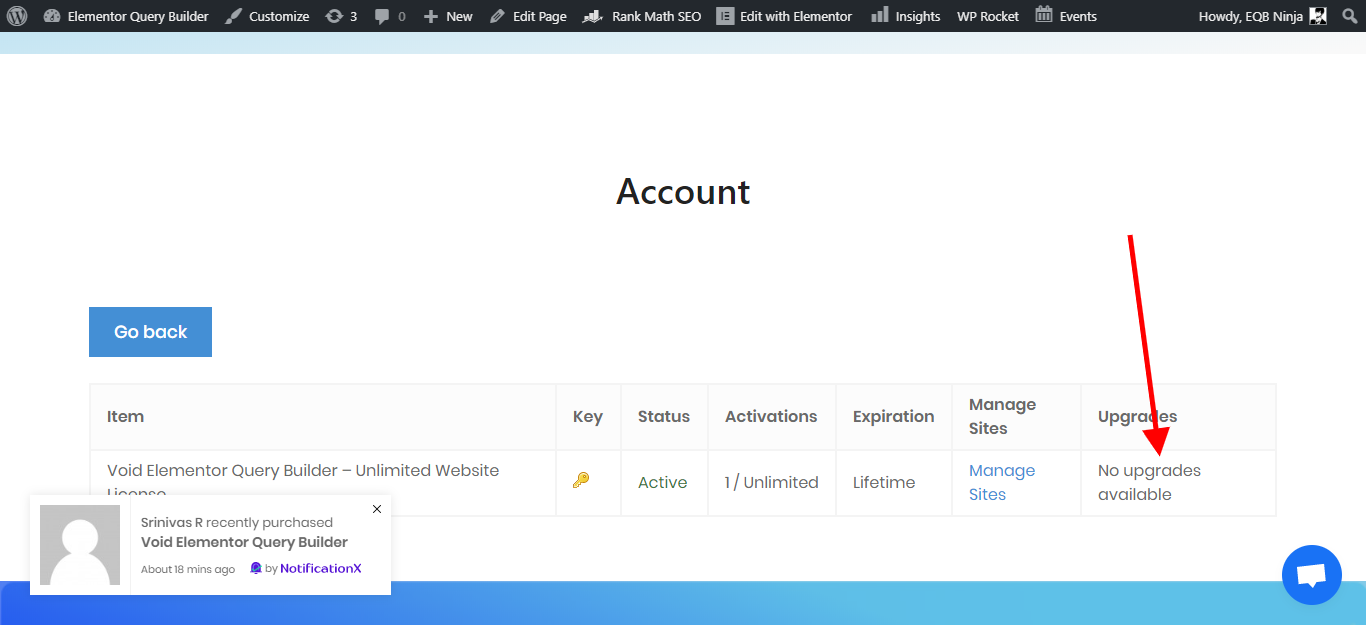
If you want to upgrade your license from Single website to multiple ones you can simply login to your account and there under My purchase > Press view License button
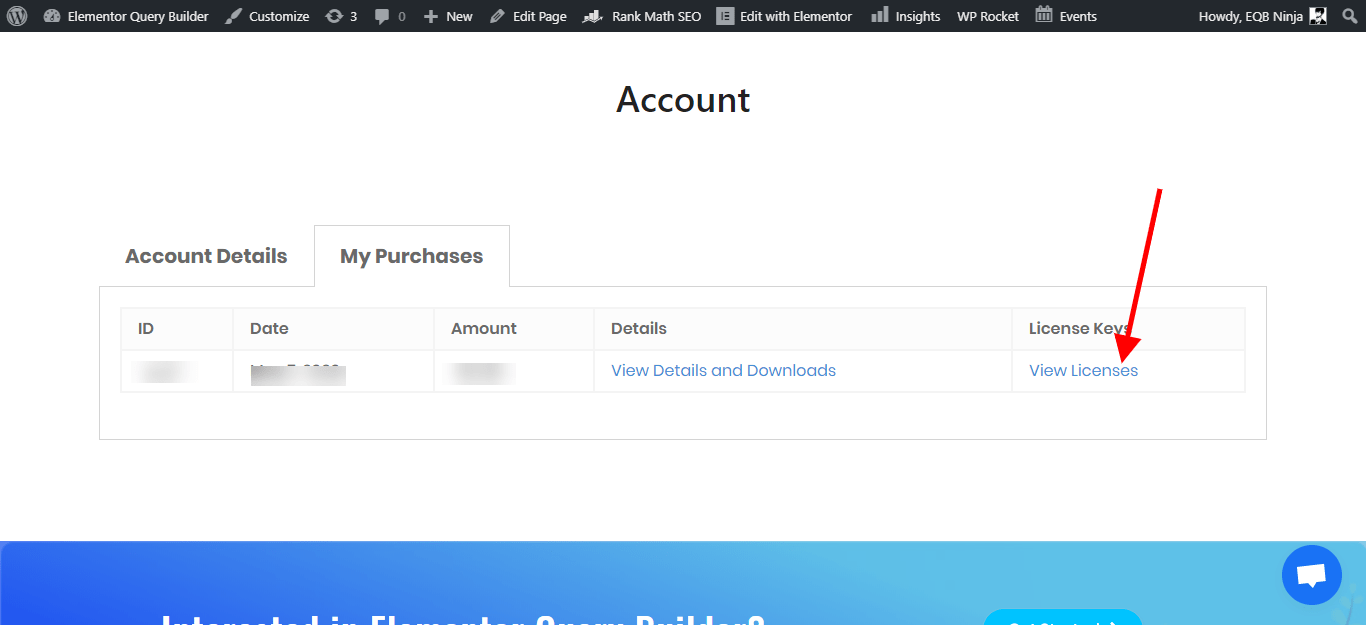
After that according to your plans you will see the updrage link which if you click you will get upgrade links.
Here since this account had an unlimited license already there is no upgrade option available.